Want to send a newsletter without relying on expensive platforms? Listmonk is a free, open source newsletter tool you can host yourself. You decide where your data lives, who has access and which infrastructure handles your emails. Connect Listmonk to a European email provider like Lettermint, and everything stays within Europe.
This guide walks you through setting up Listmonk with Lettermint and sending your first newsletter.
What is Listmonk?
Listmonk is a free, open source tool for managing mailing lists and sending newsletters. You install it on your own server or web hosting, giving you full control over your subscriber data. There are no limits on subscribers or campaigns, unlike paid services like Mailchimp or Brevo.
Listmonk comes with many features you would expect from paid alternatives. Think of a visual drag-and-drop email editor, subscriber filtering, campaign analytics and email confirmation before someone gets added to your list (opt-in).
Since Listmonk doesn't send emails on its own, you need an external SMTP service. And here's the good news: since version 6.1.0, Lettermint is available as a preset in Listmonk. Select Lettermint, fill in your API token and you're ready to go.
What do you need?
Installing Listmonk depends on your server or hosting setup. Some hosting providers offer a one-click installation, while others require a manual Docker setup. That's why we won't cover the Listmonk installation itself in this guide, but we will cover the configuration with Lettermint.
This guide assumes Listmonk is up and running. We focus on configuring Lettermint as your SMTP service.
- A working Listmonk installation (version 6.1.0 or higher)
- A Lettermint account
- A verified domain in Lettermint
- A project with at least a broadcast email route
- SMTP enabled in your project (see Enable SMTP in Lettermint)
Newsletters are broadcast emails and should not be sent through the transactional route. Make sure you set the broadcast route as default. You can change this in your project settings in the Lettermint dashboard.
Step 1: Configure general settings in Listmonk
Before setting up SMTP, you need to get the general settings right first. This is where you configure the sender address for your newsletter. Log in to your Listmonk dashboard and go to Settings → General.
Set your default sender under Default "from" email. This is the name and email address recipients see in their inbox. Use the following format:
Name <email-address>
For example: Lettermint <newsletter@example.co>
The domain of this email address must be added and verified in your Lettermint dashboard. Without a verified domain, your emails won't be sent.
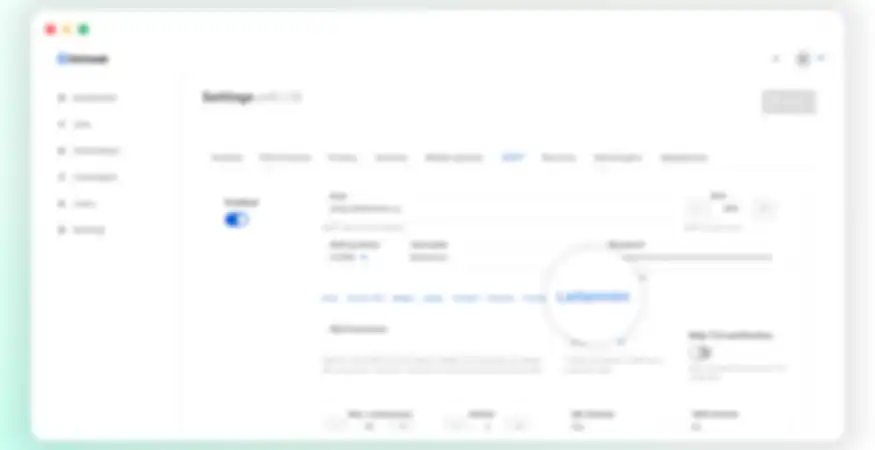
Step 2: Set up Lettermint as SMTP service in Listmonk
Go to Settings → SMTP. This is where we'll configure Lettermint so Listmonk can send emails. Make sure the Enabled toggle is turned on.
Below the SMTP settings you'll see a row of presets for popular email services. Click Lettermint. The host, port, auth protocol and TLS settings are filled in automatically. All you need to enter is:
- Username: lettermint
- Password: Your API token from your Lettermint project. You can find it in your project settings under the API token tab.
Leave the other settings like Max. connections, Retries and Idle timeout at their default values.
Click Test connection to verify everything works. Got a success message? Then Lettermint is connected.
Custom email headers
At the bottom of the SMTP page there's a field for custom email headers. These let you include extra headers with every email Listmonk sends. Headers are invisible to the recipient but provide email clients with additional information about your message.
A common header is Reply-To. This controls which email address receives replies when someone responds to your newsletter. By default, replies go to the sender address, but Reply-To lets you change that.
Enter the value as JSON, for example:
      [
    {
        "Reply-To": "support@example.com"
    }
]
This field is optional. If you don't need custom headers, leave it empty.
Step 3: Set up bounce webhooks
When a newsletter doesn't reach the recipient, that's called a bounce. Think of an email address that no longer exists or a full inbox. It's important that Listmonk knows about these, so you don't keep sending to addresses that don't work. That can damage your sending reputation, which means future newsletters might end up in spam too.
Lettermint can forward these bounce notifications to Listmonk automatically through a webhook. To set this up, start in Lettermint.
Create a webhook in Lettermint
In your Lettermint dashboard, go to your project and open the broadcast route. This is the same route you set as default earlier. Click the Webhooks tab and create a new webhook.
For the endpoint URL, enter the address of your Listmonk installation followed by /webhooks/service/lettermint. This path is fixed and is used by Listmonk to receive bounce notifications from Lettermint.
Say your Listmonk runs on https://example.com. Your webhook URL would be:
https://example.com/webhooks/service/lettermint
Then select the following events:
- Message Hard Bounces
- Message Soft Bounces
- Spam Complaint
After creating the webhook, you'll receive a webhook secret. This is a long code starting with whsec_. Copy it, you'll need it in Listmonk in a moment.
Use the Test Webhook button in the Lettermint dashboard to verify the connection with Listmonk works before you start sending.
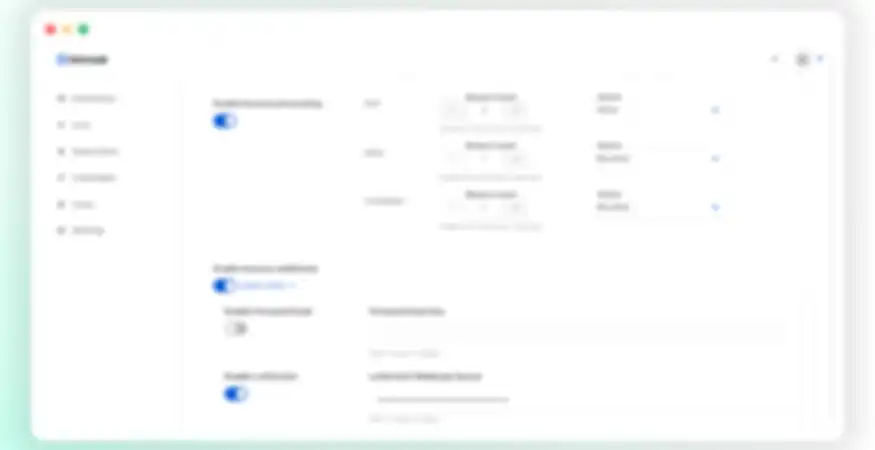
Configure bounces in Listmonk
In Listmonk, go to Settings → Bounces. Turn on the following options:
- Enable bounce processing: on
- Enable bounce webhooks: on
- Enable Lettermint: on
Enter the webhook secret you just copied from Lettermint in the Lettermint Webhook Secret field. Click Save to store your settings.
Step 4: Send your first newsletter
Everything is set up. Listmonk now sends emails through Lettermint and bounces are handled automatically. Let's put together your first newsletter.
Create a list
In Listmonk, go to Lists and click New. Give your list a name, like "Newsletter". Set Type to Public if you want people to sign up through a form on your website. Choose Double opt-in under Opt-in so new subscribers confirm their signup by email first.
Add subscribers
Under Subscribers you can add people manually or import a CSV file. Moving from another service? Export your list as CSV and import it straight into Listmonk.
Only add people who gave you permission to email them. Under GDPR and the CAN-SPAM Act, sending unsolicited commercial emails is not allowed. Recipients must have actively signed up and you need to be able to prove it. Check our Acceptable Use Policy for the rules that apply when sending through Lettermint.
Create and send a campaign
Go to Campaigns and click New. Enter a subject line and select the list you just created.
Listmonk offers several ways to design your email. The most common ones are:
- Plain text: no formatting, just text
- HTML: write the code yourself
- Visual (Drag & Drop): a visual editor where you drag blocks to build your newsletter
Want to reuse the same design? Create a template under Campaigns → Templates. That saves you from starting over every time and keeps your newsletters looking consistent.
Always send a test email using Send Test Message before starting your campaign. That way you can check if everything looks right and if the email gets delivered properly through Lettermint.
Happy with your newsletter? Click Start campaign. Listmonk sends your newsletter through Lettermint to all your subscribers.
Conclusion
Listmonk combined with Lettermint is a solid alternative to expensive newsletter tools. Listmonk handles subscriber management and campaigns, while Lettermint takes care of email delivery through European infrastructure.
Want to learn more about email delivery and how to keep your newsletters out of the spam folder? Read our article on why emails end up in spam and how to prevent it.