Want to send email notifications from your Synology NAS? Lettermint's SMTP feature is perfect for sending these notifications. In this guide, we'll explain step by step how to configure Lettermint SMTP in Synology's DiskStation Manager (DSM).
Setting up email notifications only takes a few minutes. You'll automatically receive alerts for important events like full disks, failed backups, or available updates. Convenient to stay informed without having to regularly log into your NAS.
What do you need?
To send email notifications from your Synology NAS via Lettermint, you'll need to have a few things set up first. We'll go through all requirements below so you can complete the configuration without any issues.
- A free Lettermint account
- A verified domain in Lettermint
- A project with SMTP enabled (see Setting up SMTP in Lettermint)
- A project with a transactional email route
- A Synology NAS with DSM
Check if SMTP is enabled in your Lettermint project. It's disabled by default.
Setting up SMTP in Synology DSM
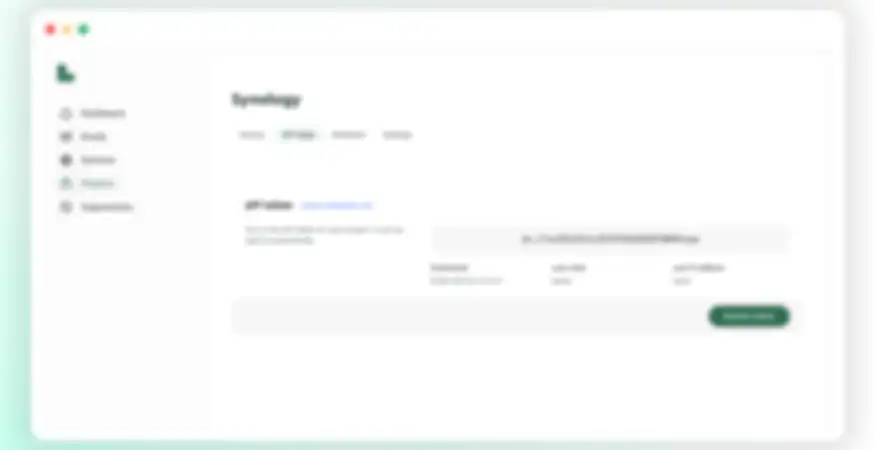
Step 1: Retrieve SMTP credentials from Lettermint
Log in to your Lettermint dashboard and navigate to the project you want to use for sending notifications. In the "API token" tab, you'll find the API token needed for your Synology NAS SMTP configuration.
Note or copy the following information:
- SMTP server: smtp.lettermint.co
- Port: 465 or 587
- Username: lettermint
- Password: Your API token
Tip: Keep this tab open in your browser. This way you can easily copy the credentials to DSM without switching back and forth.
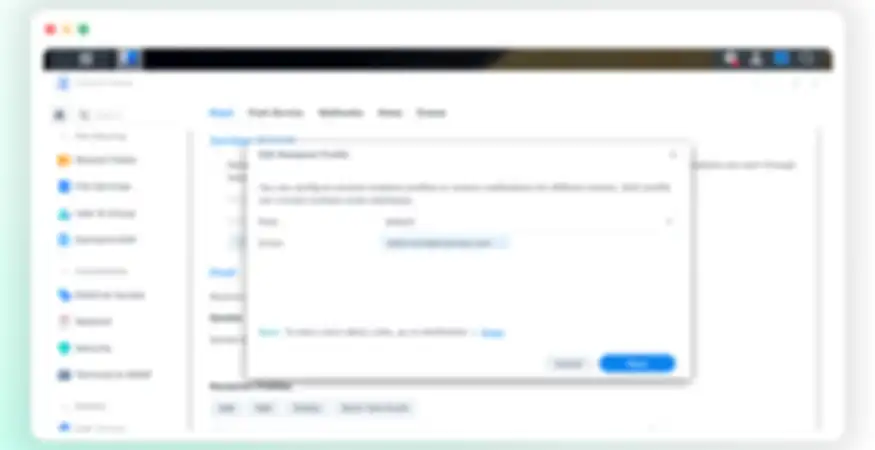
Step 2: Configure email notifications in DSM
Open a new browser tab and log in to your Synology NAS. Navigate to Control Panel and find the "Notification" option. Here you'll find all settings for sending notifications.
Click on the "Email" tab and check "Enable email notifications". Then select "Custom SMTP Server" from the dropdown menu. Now all fields appear that you need to fill in with the Lettermint credentials:
- SMTP server: smtp.lettermint.co
- SMTP port: 587
- Authentication required: Check this box
- Username: lettermint
- Password: Your API token (from Step 1)
- Secure connection (SSL/TLS): Check this box
- Sender name: For example "Synology NAS" or your own name
- Sender email: An email address from your verified domain (for example noreply@yourdomain.com)

Step 3: Add recipients
Now that the SMTP server is configured, you need to set up who receives the notifications. Click the "Add" button to add an email address.
Fill in the following details:
- Name: A recognizable name for this recipient
- Email address: The email address where notifications should be sent
Then select which types of notifications this recipient should receive. You can choose from different categories like system warnings, backup statuses, and security alerts. Check what's relevant for this recipient.
You can add multiple recipients, each with their own preferences. Useful if, for example, only the administrator should receive critical warnings, while other users only get backup status updates.
Click "OK" to save the recipient.
Test your configuration
Before proceeding, test if everything works. Select a recipient and click "Send a test email". If the test email arrives successfully, click "Apply" to save all settings.
Conclusion
Your Synology NAS is now configured to send email notifications via Lettermint. For important events like disk problems, failed backups, or security warnings, you'll receive instant alerts in your inbox.