When sending transactional emails, it’s important to know whether your emails were successfully delivered, or if issues occurred. That’s why we’re introducing webhooks, allowing you to instantly receive notifications in your application(s).
We support the following notifications:
- Email created (Message Created)
- Email sent (Message Sent)
- Email delivered (Message Delivered)
- Email not delivered due to a Hard Bounce (Message Hard Bounced)
- Email not delivered due to a Soft Bounce (Message Soft Bounced)
- Spam complaint (Spam Complaint)
- Email not delivered (Message Failed)
How does it work?
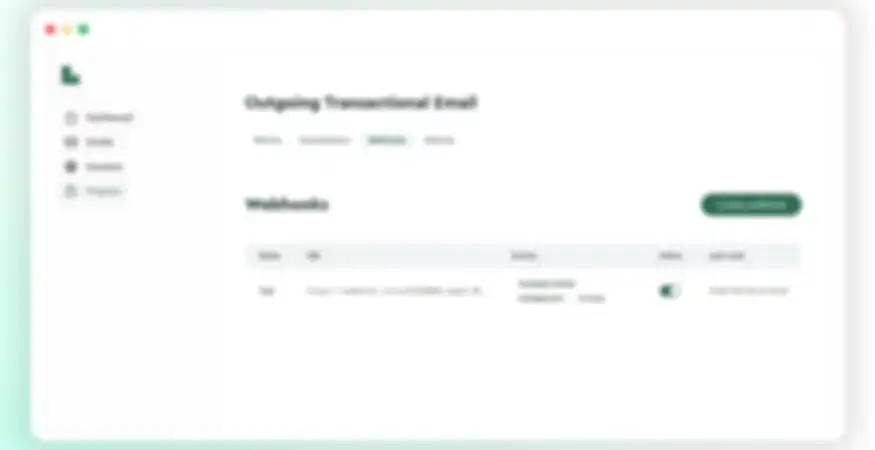
To get started with webhooks, go to your project settings and click on the project where you want to enable webhooks. Next, go to the Route for which you want to enable webhooks and click on the Webhooks tab.
Click the Create webhook button and enter the URL where you’d like to receive notifications. You can also select which notifications you want to receive. With the Test Webhook button, you can immediately send a test event (webhook.test) to the provided URL to confirm everything is working correctly.
You can create multiple webhooks for different URLs and notifications.
An example of a webhook for a created email (Message Created) looks like this:
          {
  "id": "54d7e8c9-1195-4ba0-9d3f-b9af92305add",
  "event": "message.created",
  "created_at": "2025-08-08T20:14:00.000Z",
  "data": {
    "message_id": "f47ac10b-58cc-4372-a567-0e02b2c3d479",
    "from": {
      "email": "updates@lettermint.co",
      "name": "Lettermint Updates"
    },
    "to": ["user@example.com"],
    "cc": ["cc@example.com"],
    "bcc": ["bcc@example.com"],
    "reply_to": "help@lettermint.co",
    "subject": "Welcome to Lettermint"
  }
}
You’ll receive a POST request on the provided URL with the JSON payload of the event.
For the full webhook documentation and options, check out our webhooks documentation.