We've launched our official WordPress plugin! You can now easily integrate Lettermint with WordPress to send emails. The plugin is available in the WordPress Plugin Directory. Prefer using WP Mail SMTP? Read on.
Do you want to use Lettermint in WordPress to send emails? With the free WP Mail SMTP plugin, it's straightforward. After installation, all emails sent from WordPress will automatically be sent via Lettermint. Examples include:
- Password reset emails
- New user registration emails
- Comment notifications
- WooCommerce emails (e.g., order confirmations)
Why use Lettermint to send WordPress emails?
If you run a WordPress website, you’re likely using a shared web hosting provider. This means your site runs on a server shared with many other websites. The mail server used by these providers is shared among all sites, including yours. Unfortunately, these mail servers often get blacklisted, not because of your site, but due to misuse and spam from other sites.
As a result, emails sent from your site may end up in the recipient’s spam folder. This includes critical emails to customers, such as order confirmations or password reset emails.
With Lettermint, you ensure reliable delivery of your transactional email, so messages like registration confirmations or purchase receipts always arrive in the inbox.
What do you need?
- A WordPress website
- WordPress Mail SMTP Plugin
- A Lettermint account
- A verified domain in Lettermint
- A project in Lettermint
- SMTP activated in your project settings
Step-by-step guide
Note: Ensure that SMTP is activated within your Lettermint project. You can do this by going to your project settings and activating SMTP.
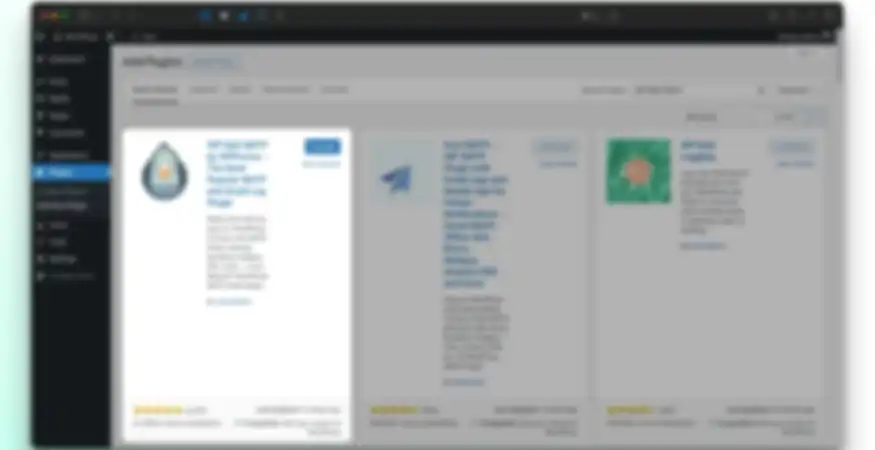
Step 1: Install the WP Mail SMTP plugin in WordPress
The first step is to install the WP Mail SMTP plugin in WordPress. Navigate to Plugins > Add New Plugin in the WordPress dashboard. Search for the WP Mail SMTP plugin as shown below. Click the Install Now button and activate the plugin.
Step 2: Configure the WP Mail SMTP plugin
After activating the plugin, go to WP Mail SMTP in the menu and click on Settings. Here, we will configure the plugin to use Lettermint as the SMTP server.
Set up the sender
Start by filling in the From Email and From Name fields. These are the details used as the sender of the emails that WordPress will send. Enter an email address in From Email that you have verified in Lettermint. The email address must contain your domain name.
Set up the mailer
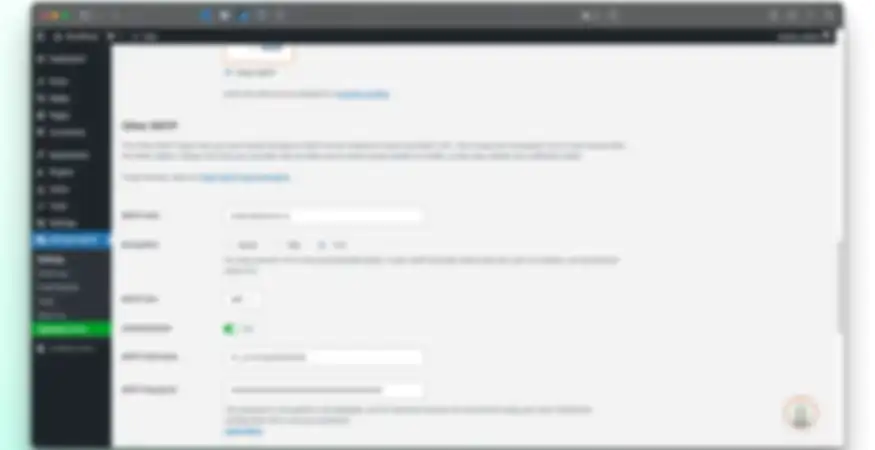
In the list of mailers, select Other SMTP. This option gives you full control over the SMTP settings for your WordPress website.
After selecting Other SMTP, several fields will appear that you need to fill in. Complete the fields as described below:
- SMTP Host: smtp.lettermint.co
- Encryption: TLS
- SMTP Port: 465
- Authentication: Yes
- SMTP Username: lettermint
- SMTP Password: Your API token from your Lettermint project. You can find this under your project settings, then under the API token tab.
After filling in the fields, click the Save settings button.
Step 3: Test the SMTP settings
WP Mail SMTP includes a feature that allows you to test the SMTP settings. Go to Tools in the WP Mail SMTP menu.
Here, you can send a test email. Enter an email address where you want to send the test email and click the Send Email button.
You will see a notification that the email has been sent. You should now receive a test email from your WordPress website sent via Lettermint using SMTP.
Encountering an error message? Verify that SMTP is activated in your Lettermint project. Also, ensure that your WP Mail SMTP plugin is configured correctly by following the steps above again.
Insight into sent emails
One powerful benefit of using Lettermint is that you can easily track all sent emails. If you use WooCommerce, you can also see the emails sent to your customers.