Want to send emails with Lettermint using a domain with Cloudflare DNS? This guide explains how to add the required DNS records. Setup takes just a few minutes, and then you can start sending transactional emails with your own domain.
Cloudflare is a popular DNS provider with benefits like fast nameservers, DDoS protection, and a user-friendly dashboard. Many companies choose Cloudflare for this combination of speed and security. If your domain uses Cloudflare DNS, adding DNS records is straightforward.
What do you need?
- A Lettermint account
- A Cloudflare account
- A domain active in your Cloudflare account
Step 1: Add domain in Lettermint
Log in to your Lettermint account and navigate to Domains. Click the Add domain button and enter your domain name.
After adding, you'll immediately see which DNS records you need to configure. Lettermint provides three records:
- DMARC record – DMARC protects your domain against abuse
- Domain key record – DKIM adds a digital signature to your email
- Bounce record – Handles undelivered emails (bounces) correctly
You don't need to modify your SPF record. Lettermint uses the Return-Path method, so your current SPF record stays intact. Read more in our 'What is SPF' article.
Keep this screen open. You'll need these details for the next steps in Cloudflare.
Step 2: Add DNS records in Cloudflare
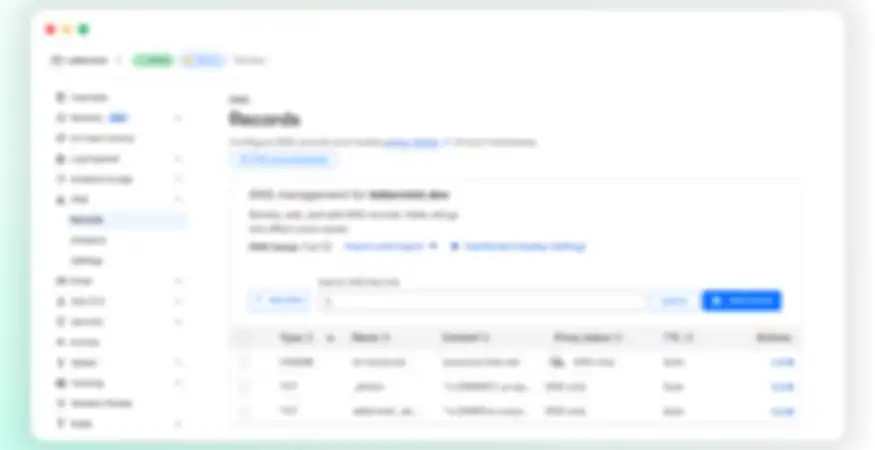
Open the Cloudflare dashboard in a new tab and select the domain you added in step 1. Click DNS in the left menu to go to the DNS settings.
In the DNS management of your domain, we'll add the 3 records Lettermint needs to send emails.
DMARC record
If you use another email service besides Lettermint, you might already have a DMARC record in Cloudflare. In that case, you don't need to add a new one.
If you don't have one yet, click the Add record button. Enter the following details:
- Type: TXT
- Name: _dmarc
- Content: The DMARC value from your Lettermint dashboard (for example: v=DMARC1; ...)
- TTL: Auto
Click Save to add the record.
Domain key record
Click Add record again. Enter the following details:
- Type: TXT
- Name: lettermint._domainkey
- Content: The domain key value from your Lettermint dashboard (starts with v=DKIM1;k=rsa;p=)
- TTL: Auto
Click Save to add the record.
Bounce record
Click Add record once more. Enter the following details:
- Type: CNAME
- Name: The bounce subdomain from your Lettermint dashboard
- Target: The bounce target from your Lettermint dashboard (usually bounces.lmta.net)
- TTL: Auto
- Proxy status: DNS Only
Important: Make sure the proxy status is set to DNS Only (gray cloud).
Click Save to add the record.
Step 3: Verification in Lettermint
Open the Lettermint tab from step 1. Click the green Verify all records button to check if Cloudflare has processed the DNS changes.
DNS changes can take several minutes to an hour before they're visible to third parties. Lettermint automatically rechecks in the background, and you'll receive an email when they're processed.
Once all records are found correctly, you'll see a green checkmark. Your domain with Cloudflare DNS is now ready to send emails with Lettermint!
Next steps
Now that your domain is correctly configured, you can start sending emails. Consider separating different types of emails with an email subdomain. This keeps your transactional emails separate from marketing emails, for example.