



 Back to 'Guides'
Do you have a domain with Route 53 and want to set up DNS records for Lettermint? In this guide, we explain how to add the required DNS records. The setup takes just a few minutes, after which you can send transactional emails with your own domain.
Amazon Route 53 is the DNS service from Amazon Web Services (AWS). AWS and Route 53 are popular among developers due to their extensive infrastructure and integration capabilities.
Important: When adding the Domain key record in Route 53, you need to split the value into multiple parts between quotation marks. Route 53 does not accept TXT records longer than 255 characters per string. If you don't do this, you'll get the error message: "Error occurred. Please try again later. (UnknownError)". We explain step by step later in this guide how to split the value correctly.
What do you need?
- A Lettermint account
- An AWS account with access to Route 53
- A domain in Route 53 with a hosted zone
Step 1: Add domain in Lettermint
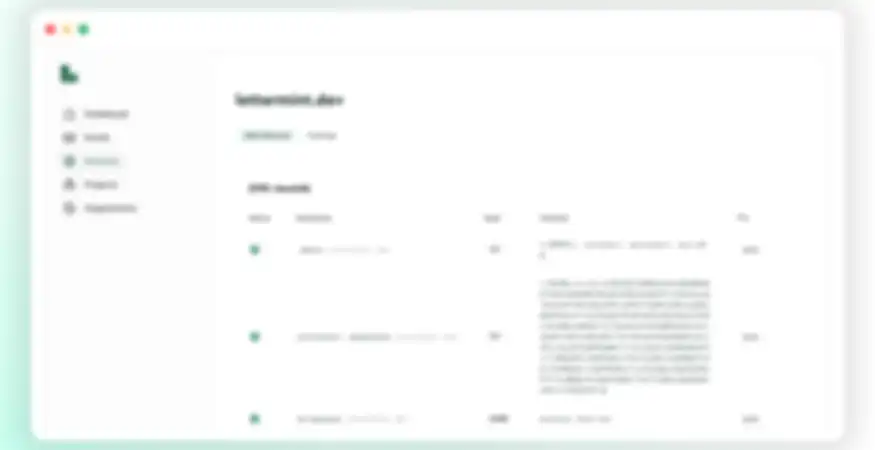
Log in to your Lettermint account and navigate to Domains. Click the Add domain button and enter your domain name.
After adding it, you'll immediately see which DNS records you need to configure. Lettermint provides three records:
- DMARC record – DMARC protects your domain from abuse
- Domain key record – DKIM adds a digital signature to your email
- Bounce record – Ensures proper handling of undelivered emails (bounces)
You don't need to adjust your SPF record. Lettermint uses the Return-Path method, so your current SPF record remains unchanged. More about this in our article 'What is SPF'.
Keep this screen open. You'll need this information for the next steps in Route 53.
Step 2: Add DNS records in Route 53
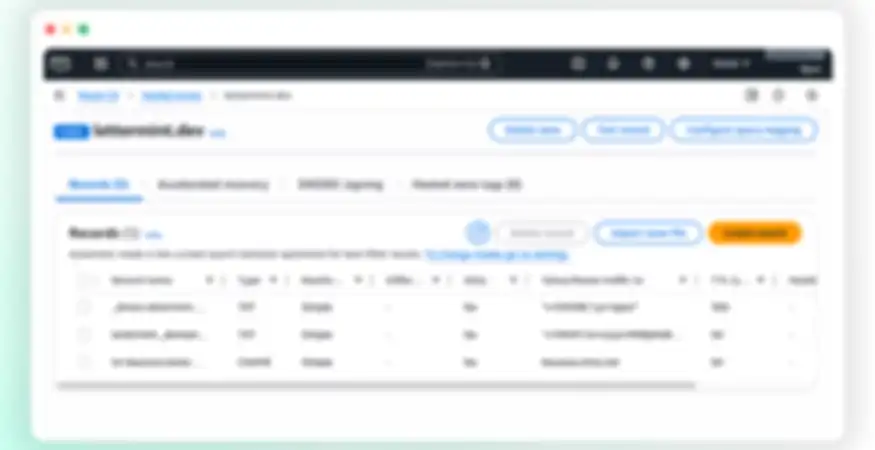
Log in to the AWS Management Console and navigate to Route 53. Click Hosted zones in the left menu and select the hosted zone for your domain.
You'll now see an overview of all DNS records for this domain. We're going to add the 3 records that Lettermint needs to send emails.
DMARC record
If you use another email service besides Lettermint, you might already have a DMARC record in Route 53. In that case, you don't need to add a new record.
If you don't have one yet, click Create record and enter the following information:
- Record name: _dmarc
- Record type: TXT
- Value: The DMARC value from your Lettermint dashboard (for example: v=DMARC1; ...)
- TTL: 3600
Click Create records.
Domain key record
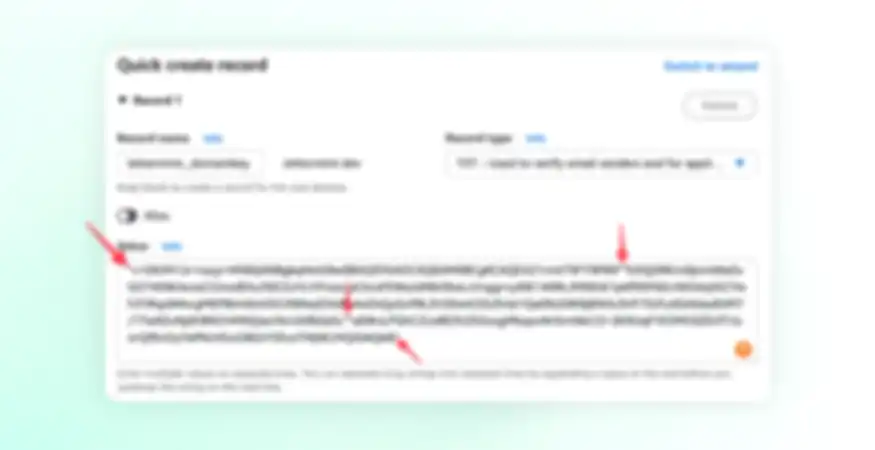
The Domain key value is too long for Route 53 to store in a single string. If you try to add the value without modifications, you'll get the error message "Error occurred. Please try again later. (UnknownError)". This is because Route 53 does not accept TXT records longer than 255 characters per string. You therefore need to split the value into multiple parts between quotation marks, without spaces between them.
Click Create record and enter the following information:
- Record name: lettermint._domainkey
- Record type: TXT
- Value: The Domain key value from your Lettermint dashboard, split into parts of maximum 255 characters
- TTL: 3600
Copy the complete value from your Lettermint dashboard and split it into parts. Place each part between quotation marks ("part1""part2""part3") and put them directly after each other. Important: don't put spaces or line breaks between the different parts. In the screenshot below you can see what this should look like.
Click Create records.
Bounce record
Click Create record and enter the following information:
- Record name: The bounce subdomain from your Lettermint dashboard
- Record type: CNAME
- Value: The bounce target from your Lettermint dashboard (usually bounces.lmta.net)
- TTL: 3600
Click Create records.
Step 3: Verification in Lettermint
Open the Lettermint tab from step 1. Click the green Verify all records button to check if Route 53 has already processed the DNS changes.
DNS changes can take a few minutes to an hour before they are visible to third parties. Lettermint automatically checks again in the background, and you'll receive an email once they have been processed.
Once all records have been found correctly, you'll see a green checkmark. Your domain with Route 53 is now ready to send emails with Lettermint!
Next steps
Now that your domain is correctly set up, you can start sending emails. Consider separating different types of emails with an email subdomain. This keeps your transactional emails separate from marketing emails, for example.