Introduction
The Team → Project → Route Hierarchy
Lettermint organizes your email infrastructure in a three-level hierarchy:
Code
- Teams are your organization—billing, reputation scoring, and team members live here
- Projects are isolated API endpoints with unique tokens—think of them as environments or apps
- Routes define how emails are processed—transactional, broadcast, or inbound
Why This Structure?
Projects Provide Isolation
Each project has its own:
- API token — Separate credentials for production vs staging, or different applications
- Message history — Analytics isolated per project
- Domain associations — Control which domains can send from each project
- Team member access — Restrict who can view or manage specific projects
When to create multiple projects:
- Separate environments (production, staging, development)
- Different applications that shouldn't share credentials
- Isolating analytics and message history
Routes Define Email Behavior
Routes within a project handle different types of email traffic:
Transactional
Critical one-to-one emails triggered by user actions
Broadcast
One-to-many campaigns with unsubscribe handling
Inbound
Receive and process incoming emails via webhooks
When to create multiple routes:
- Separate transactional from marketing emails (required for deliverability)
- Different webhook endpoints for different email types
- Separate suppression list management
When you create a new project, Lettermint automatically creates a transactional route called "outgoing" and sets it as the default. You can add more routes as needed.
See Routes for detailed configuration options.
Finding Your API Token
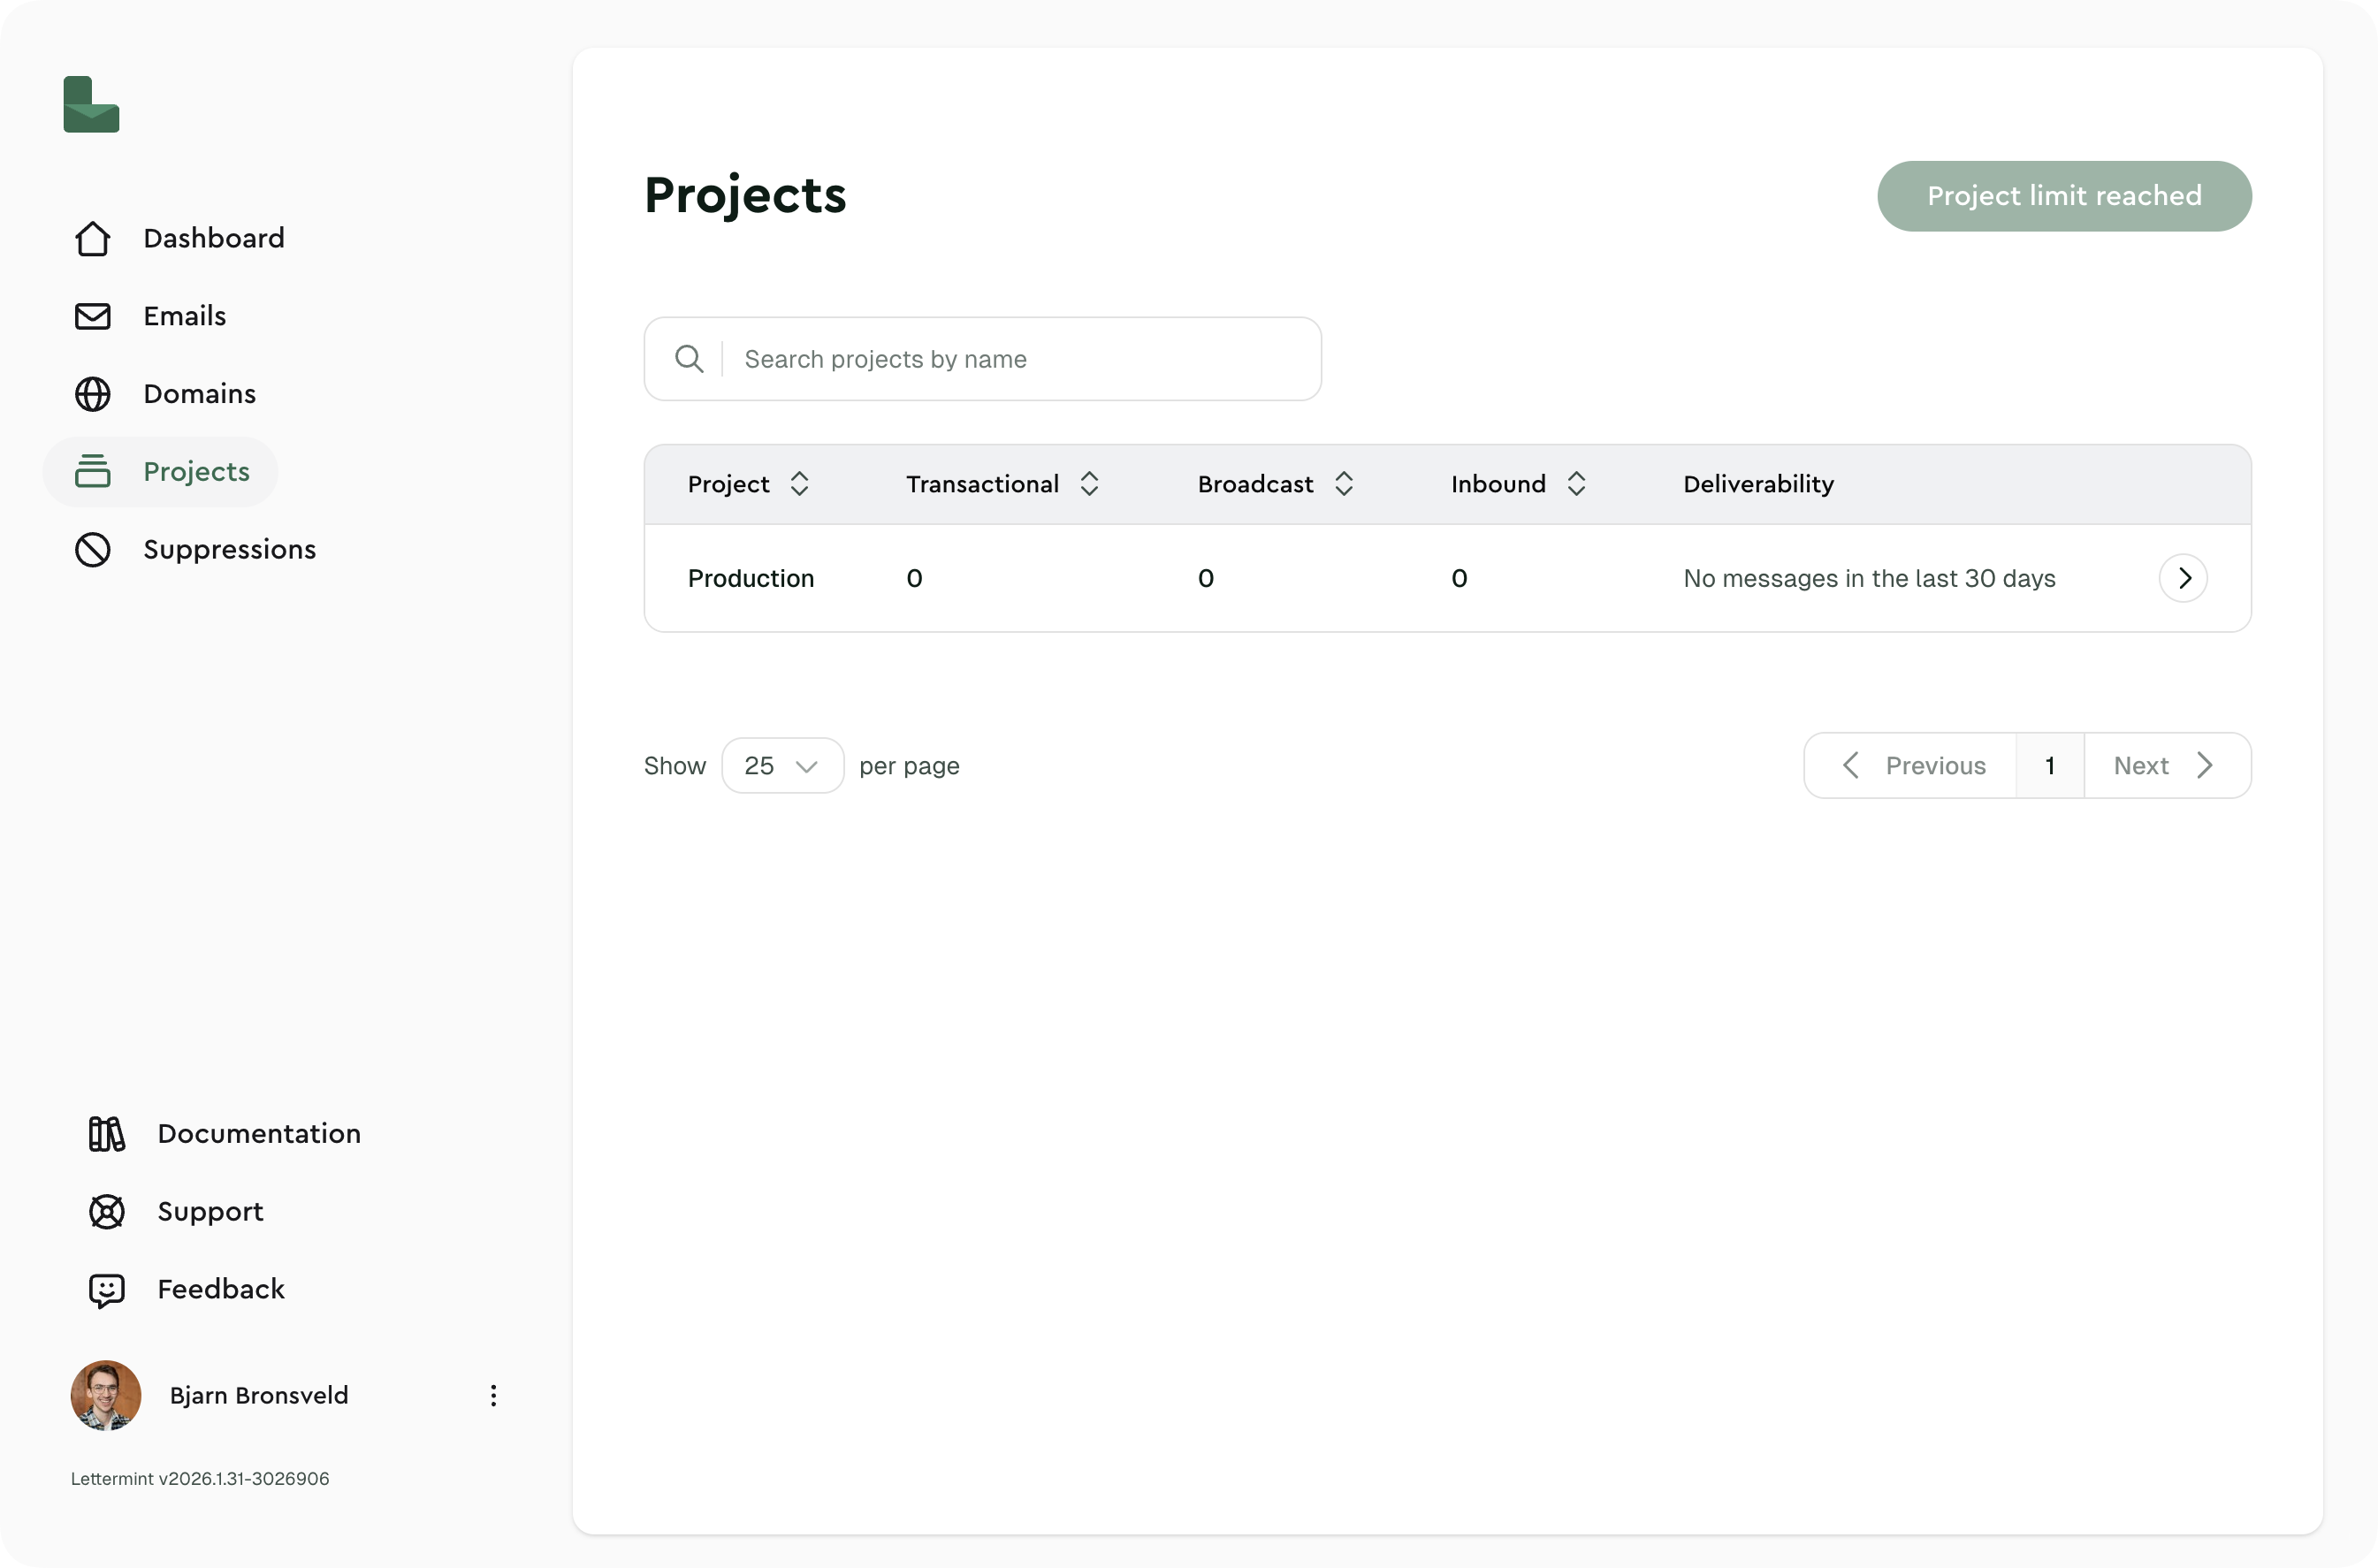
Navigate to Projects
Open your team dashboard and click Projects in the sidebar.
Select your project
Click on the project you want to use.
Copy the API Token
Go to the API Token section and copy your token (starts with lm_).
Keep your API tokens secure. Never commit them to version control or expose them in client-side code.
Access Control
Control which team members can access specific projects:
| Role | Access |
|---|---|
| Team Owner | All projects automatically |
| Team Member | Only projects explicitly granted |
| No restrictions set | All members can access |
Next Steps
- Routes — Configure route types and settings
- Inbound Mail — Receive emails with webhooks
- Webhooks — Get real-time delivery notifications