# Introduction
Use Inbound Mail to receive email in your application. Lettermint parses each message and sends a structured webhook event to your endpoint.
Common uses include replies, support requests, and workflows that start with an email.
Inbound Mail is available on the Starter plan and higher. Every inbound route includes a generated receiving address, so you can test the complete flow without changing DNS.
## Receive your first email
### Create an inbound route
1. In the dashboard, select **Projects**.
2. Select your project and open **Routes**.
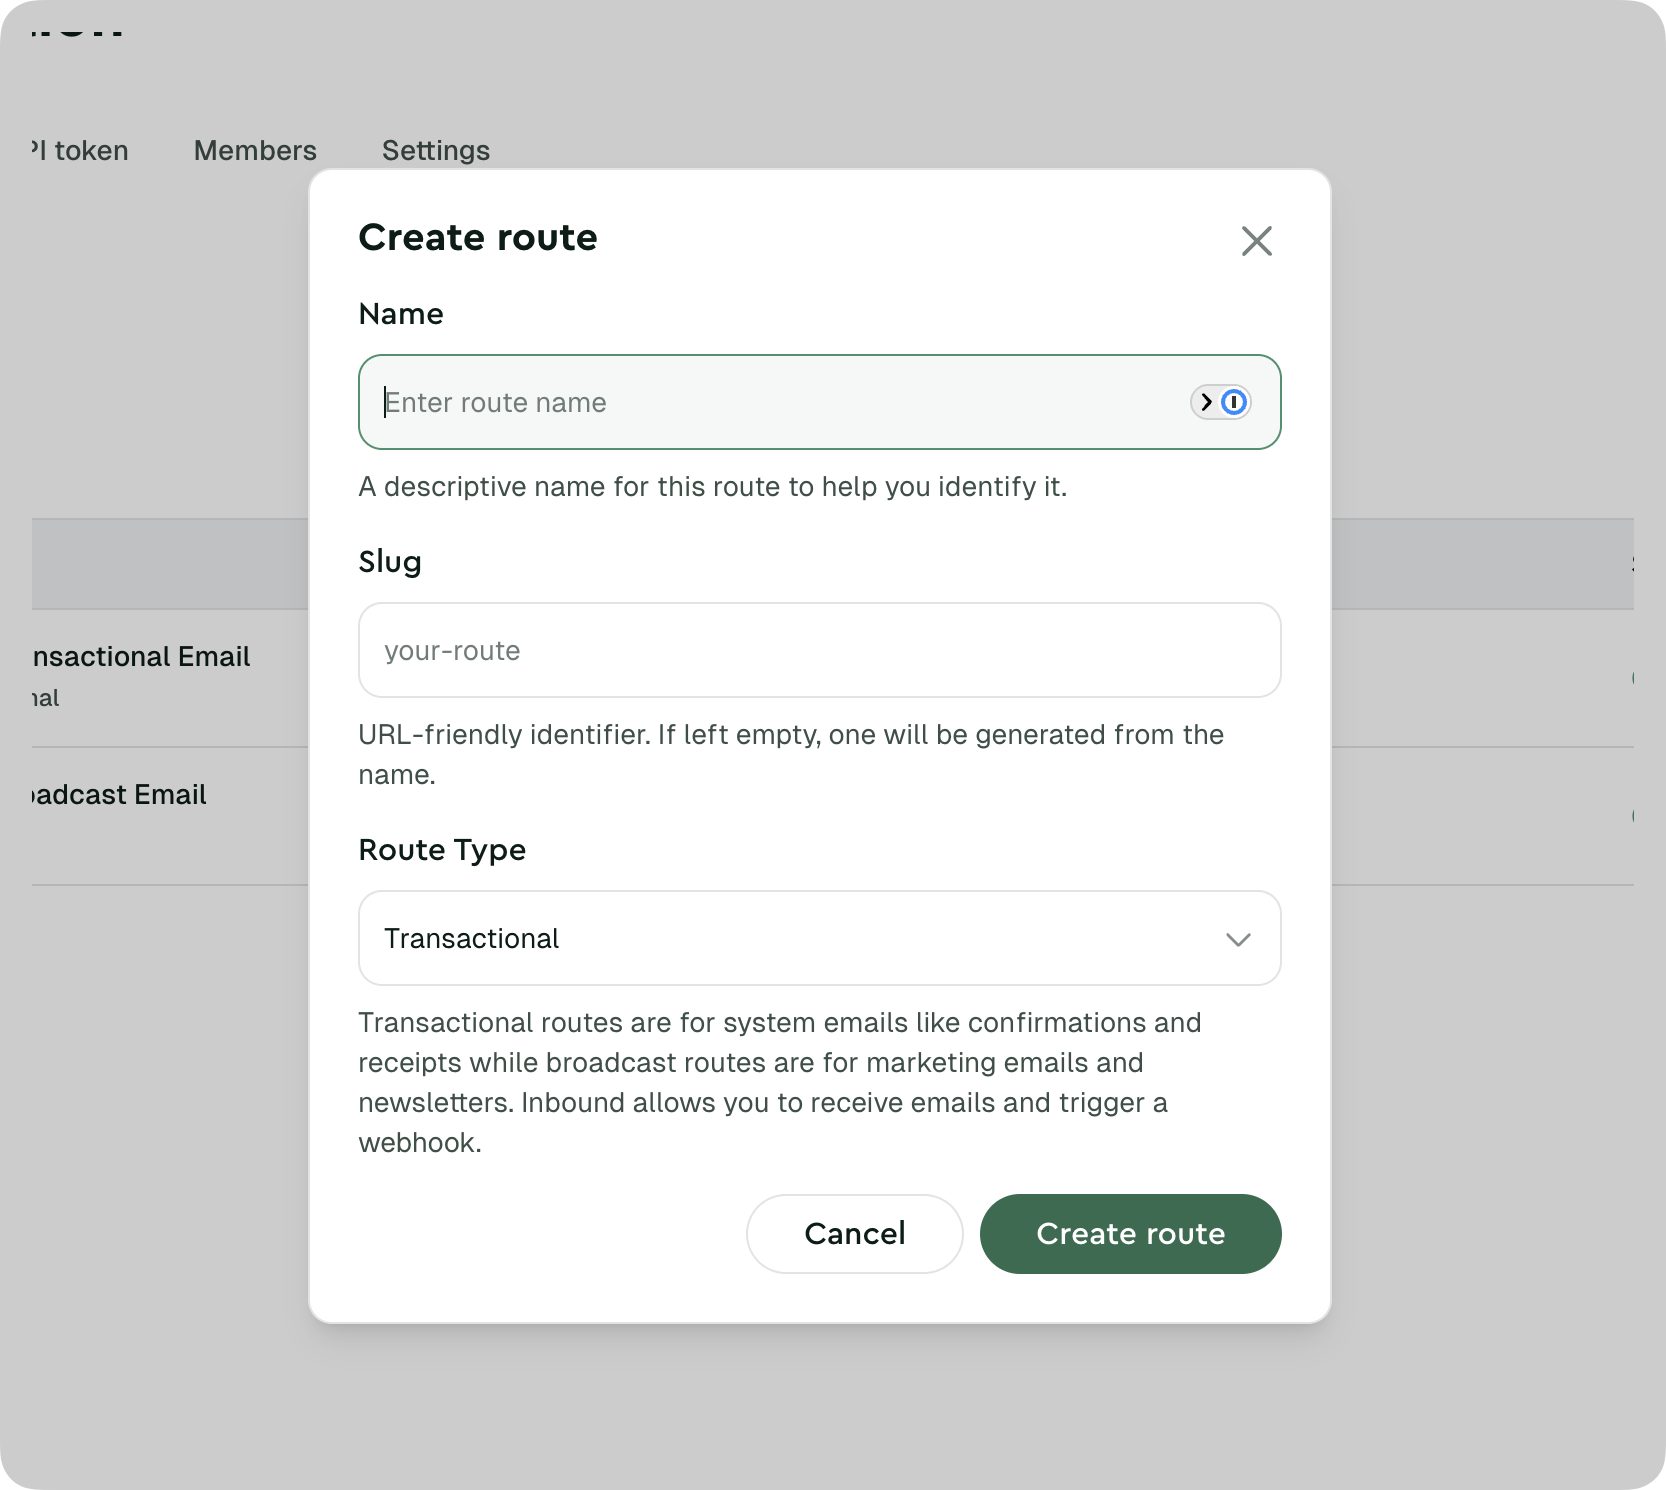
3. Select **Create route**.
4. Enter a name and select **Inbound** as the route type.
 ### Create its webhook
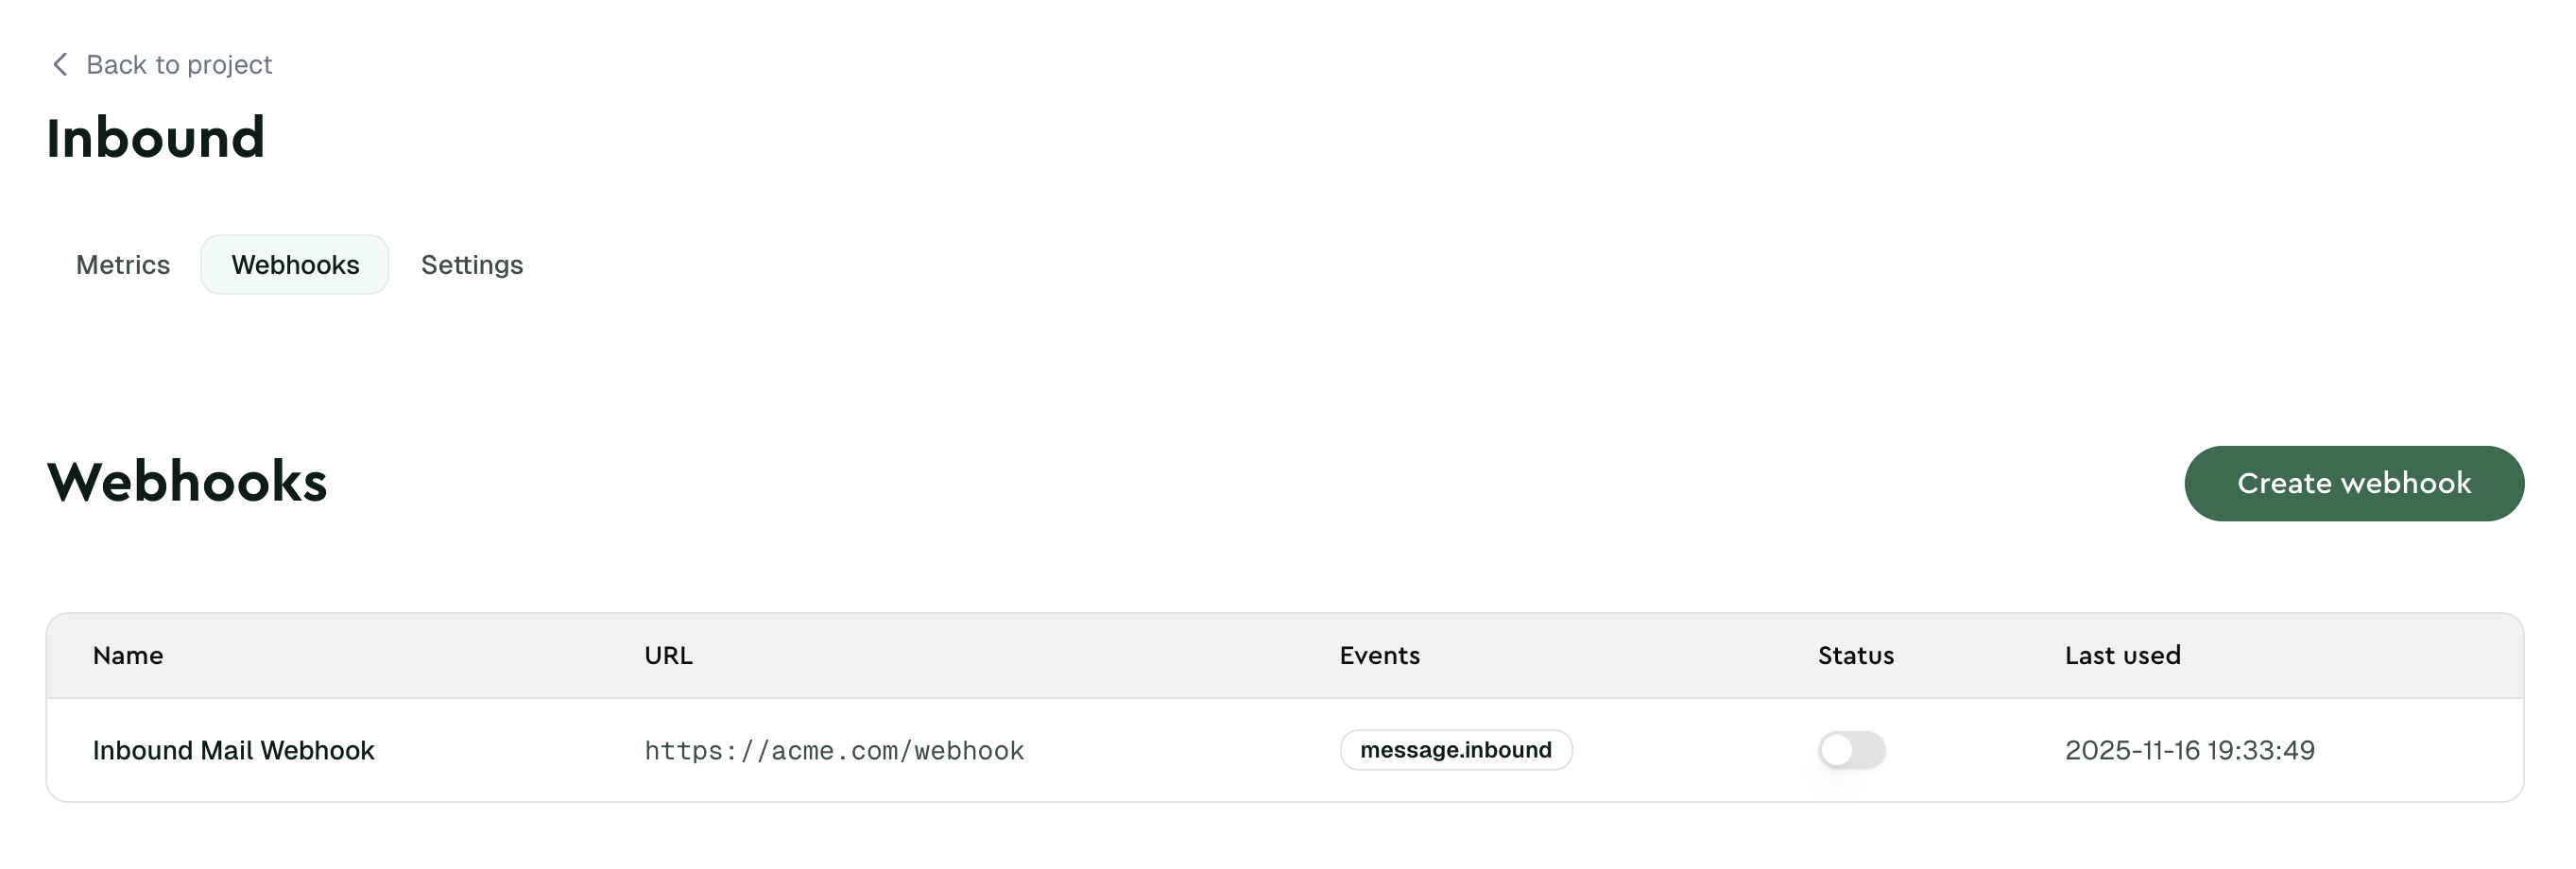
1. Open the route and select **Webhooks**.
2. Select **Create webhook**.
3. Enter your endpoint URL and save the webhook.
Inbound route webhooks subscribe to `message.inbound` automatically. You do not need to select an event.
### Create its webhook
1. Open the route and select **Webhooks**.
2. Select **Create webhook**.
3. Enter your endpoint URL and save the webhook.
Inbound route webhooks subscribe to `message.inbound` automatically. You do not need to select an event.
 ### Copy the receiving address
Open **Settings**. Copy the value under **Inbound address**.
This address is unique to the route. You can use it immediately.
### Send a real test email
Send an email to the generated address from another mailbox. Lettermint sends a signed `message.inbound` event to your endpoint.
Open the webhook delivery log. Check the request and response.
Your endpoint must verify the signature and save or queue the event. It must then return a `2xx` response.
## Choose a receiving address
| Choose | Use it when |
| --- | --- |
| Generated address | Test immediately without DNS. Only the exact dashboard address receives mail. |
| Custom domain | Receive mail for any address on your domain. You must add an MX record first. |
Generated addresses use the route UUID without hyphens before `@inbound.lettermint.co`. They must match exactly and do not support plus addressing.
If you need addresses on your domain, [configure a custom domain](/platform/inbound-mail/custom-domains).
To create routes and webhooks with the Team API, use the generated [Project endpoints](/api-reference/team/project) and [Webhook endpoints](/api-reference/team/webhook).
## Next steps
Receive mail for an exact domain or a wildcard subdomain.
Verify webhook signatures and handle message fields safely.
Choose inline content or temporary signed download URLs.
Set a threshold and interpret spam and authentication results.
### Copy the receiving address
Open **Settings**. Copy the value under **Inbound address**.
This address is unique to the route. You can use it immediately.
### Send a real test email
Send an email to the generated address from another mailbox. Lettermint sends a signed `message.inbound` event to your endpoint.
Open the webhook delivery log. Check the request and response.
Your endpoint must verify the signature and save or queue the event. It must then return a `2xx` response.
## Choose a receiving address
| Choose | Use it when |
| --- | --- |
| Generated address | Test immediately without DNS. Only the exact dashboard address receives mail. |
| Custom domain | Receive mail for any address on your domain. You must add an MX record first. |
Generated addresses use the route UUID without hyphens before `@inbound.lettermint.co`. They must match exactly and do not support plus addressing.
If you need addresses on your domain, [configure a custom domain](/platform/inbound-mail/custom-domains).
To create routes and webhooks with the Team API, use the generated [Project endpoints](/api-reference/team/project) and [Webhook endpoints](/api-reference/team/webhook).
## Next steps
Receive mail for an exact domain or a wildcard subdomain.
Verify webhook signatures and handle message fields safely.
Choose inline content or temporary signed download URLs.
Set a threshold and interpret spam and authentication results.